

INSTALLATION GUIDE
Here are some of the recommended safety equipment to wear when handling, cutting, and installing deck tiles: Gloves, Respiratory protection, Long sleeves, Pants, Safety glasses.

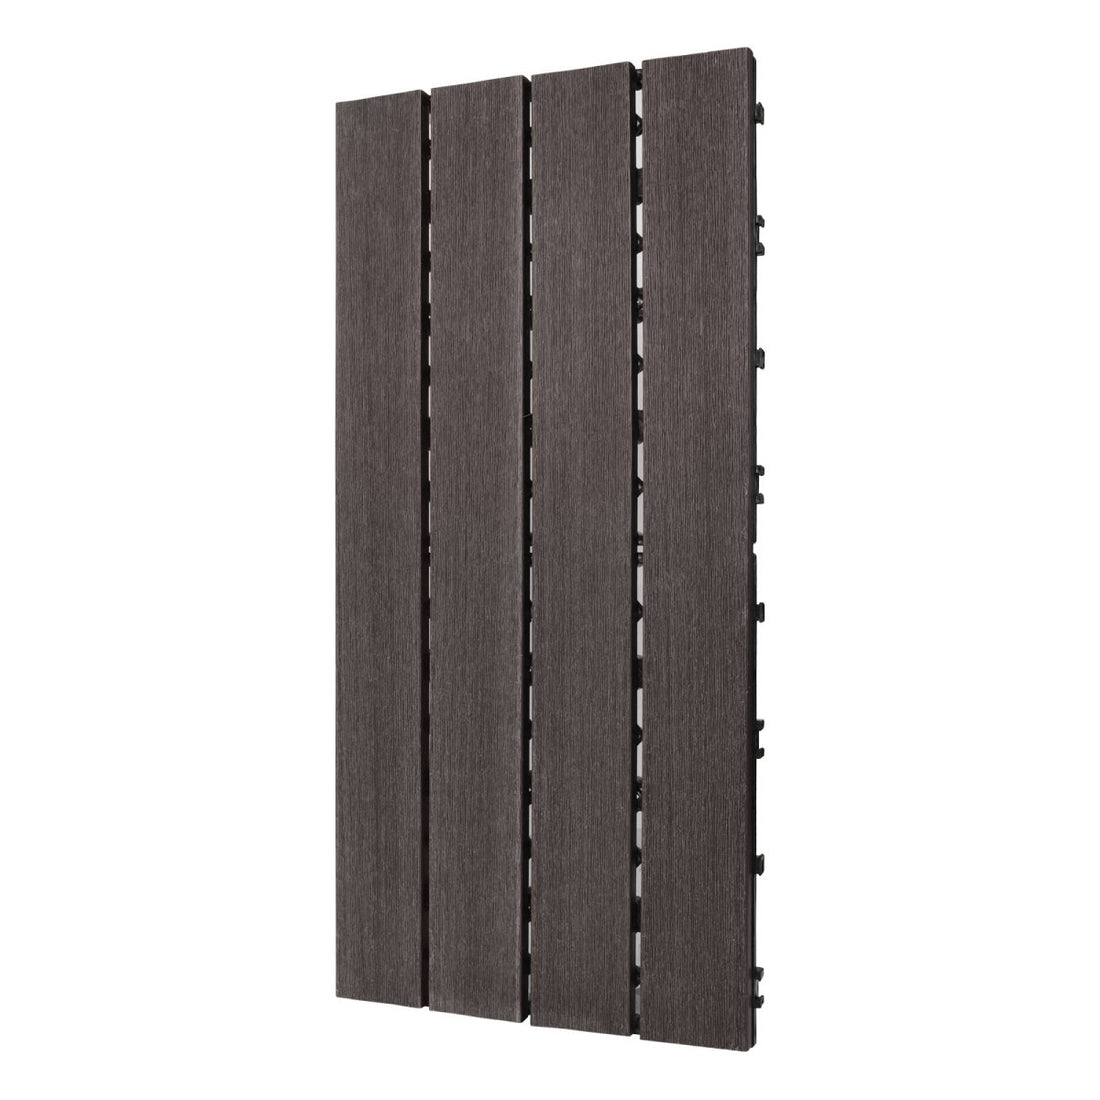
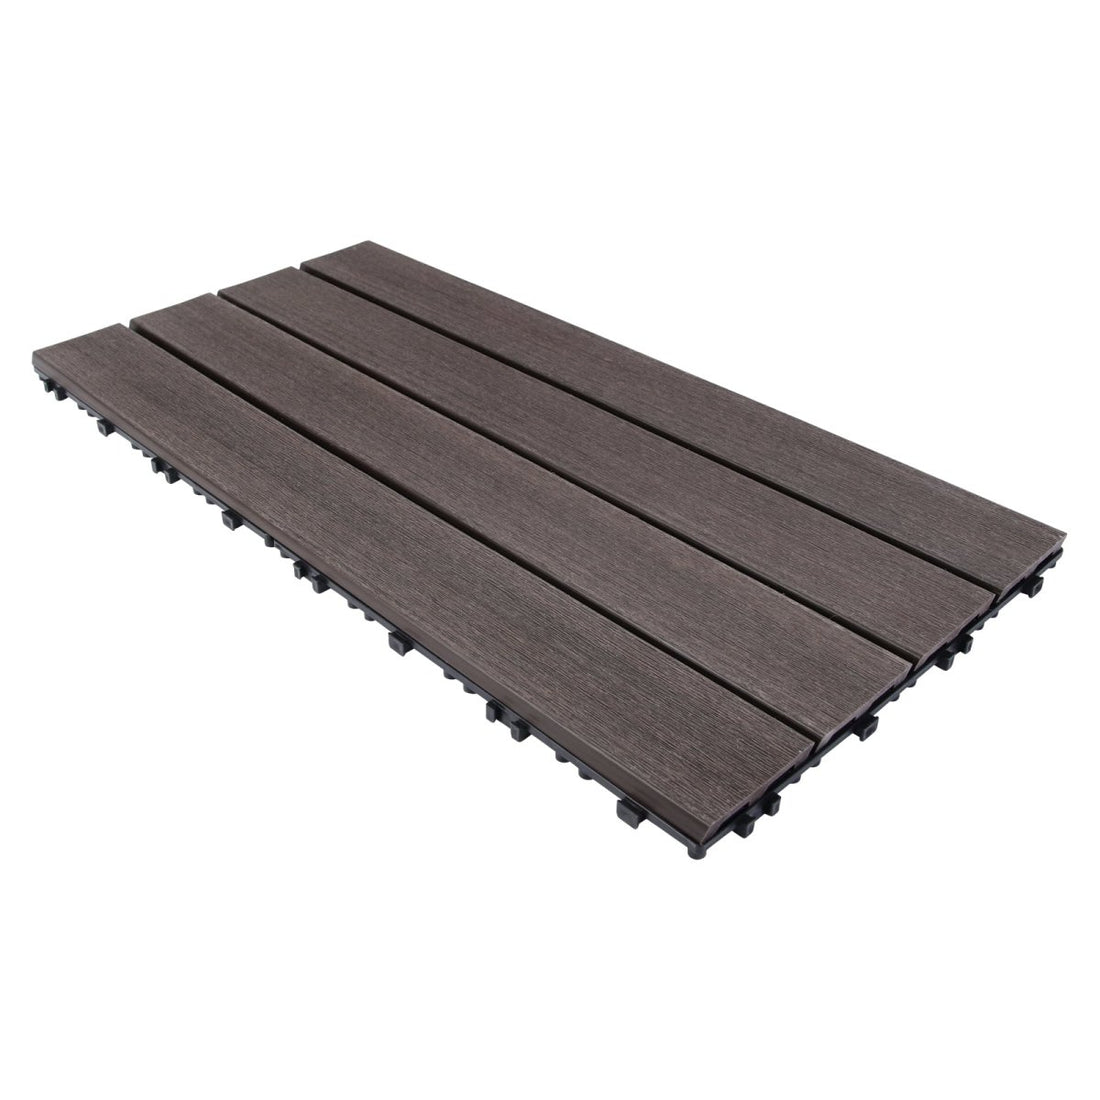
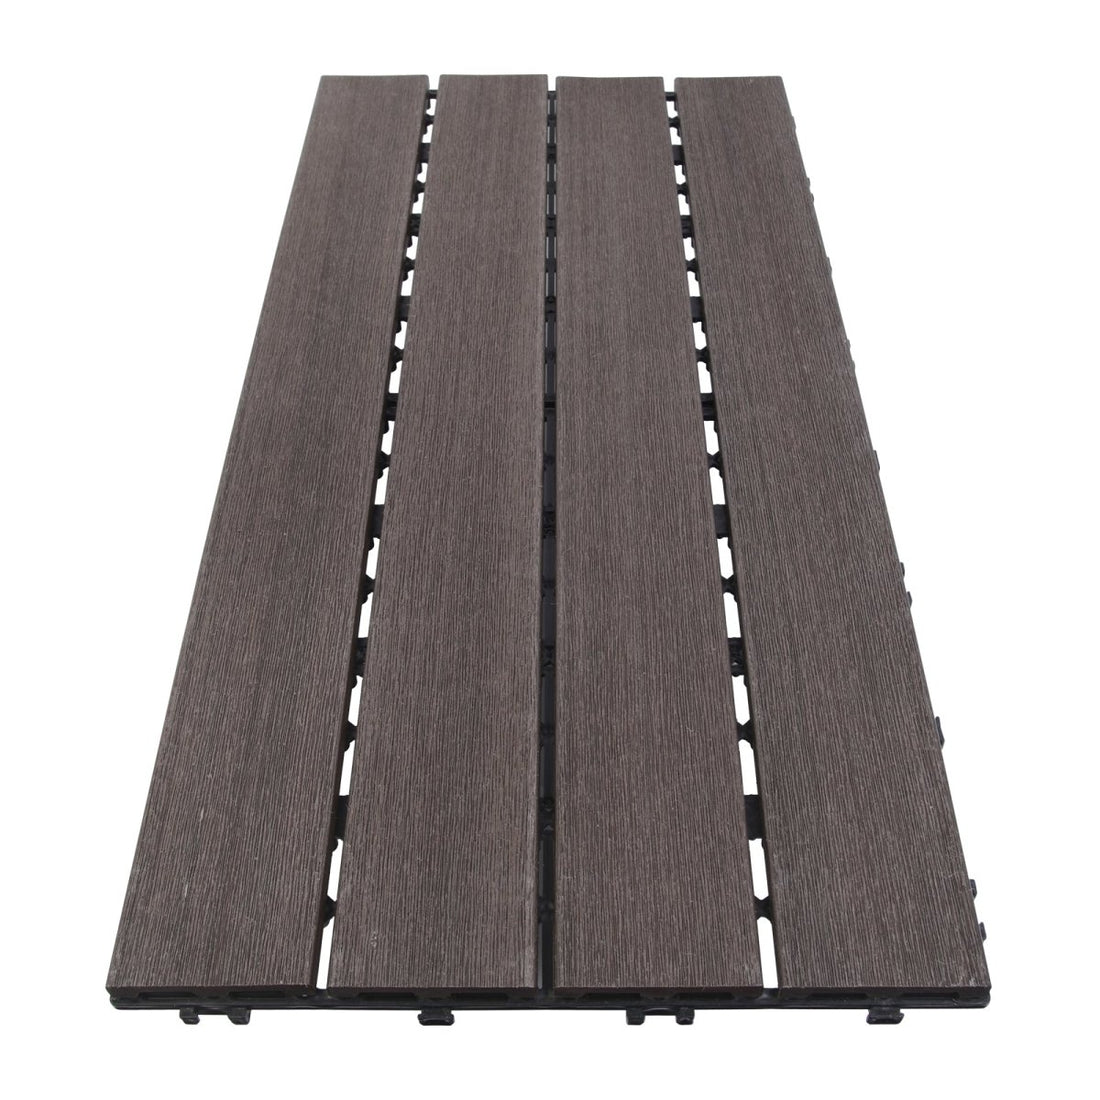
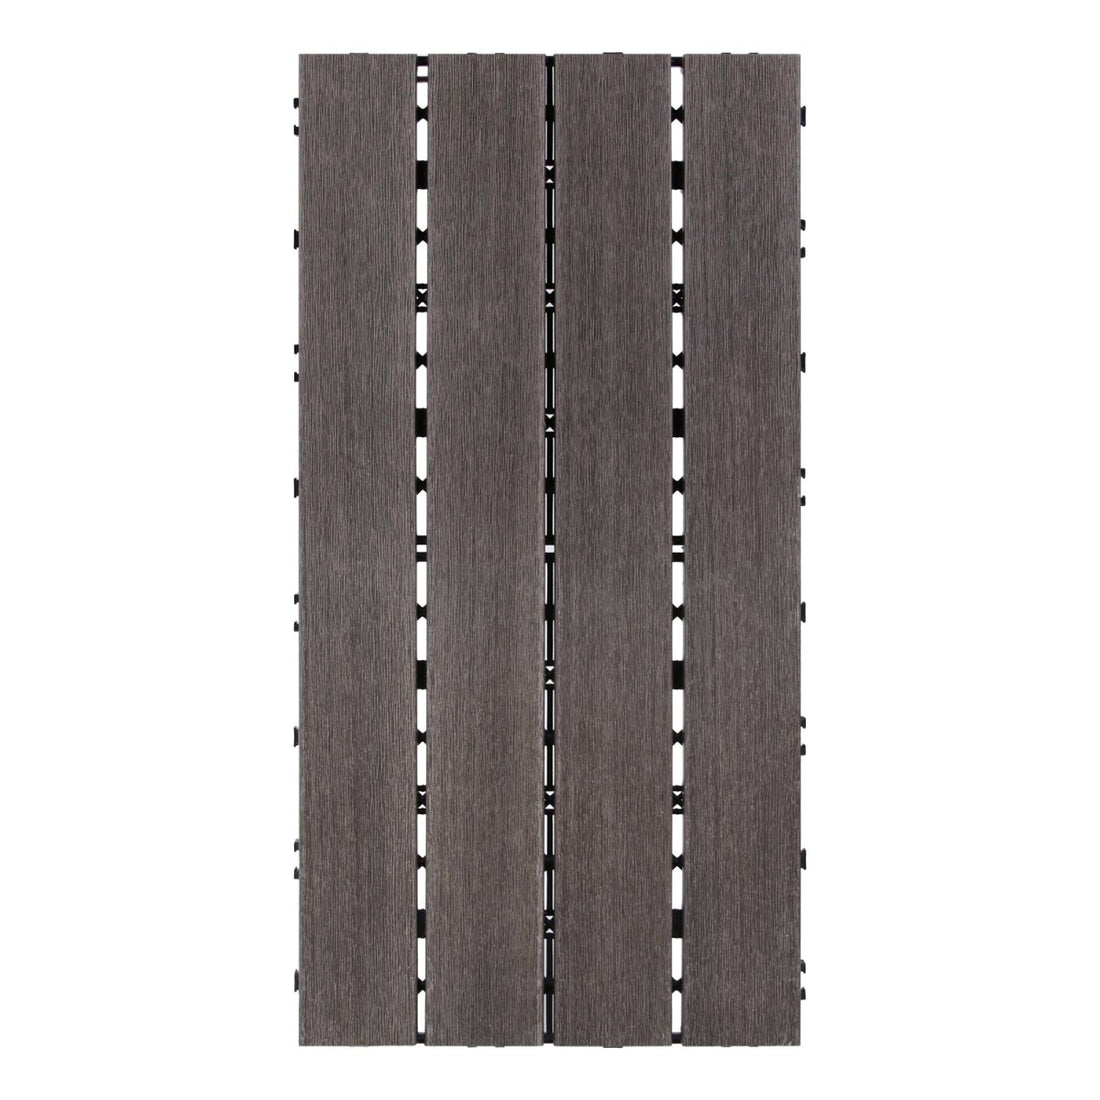
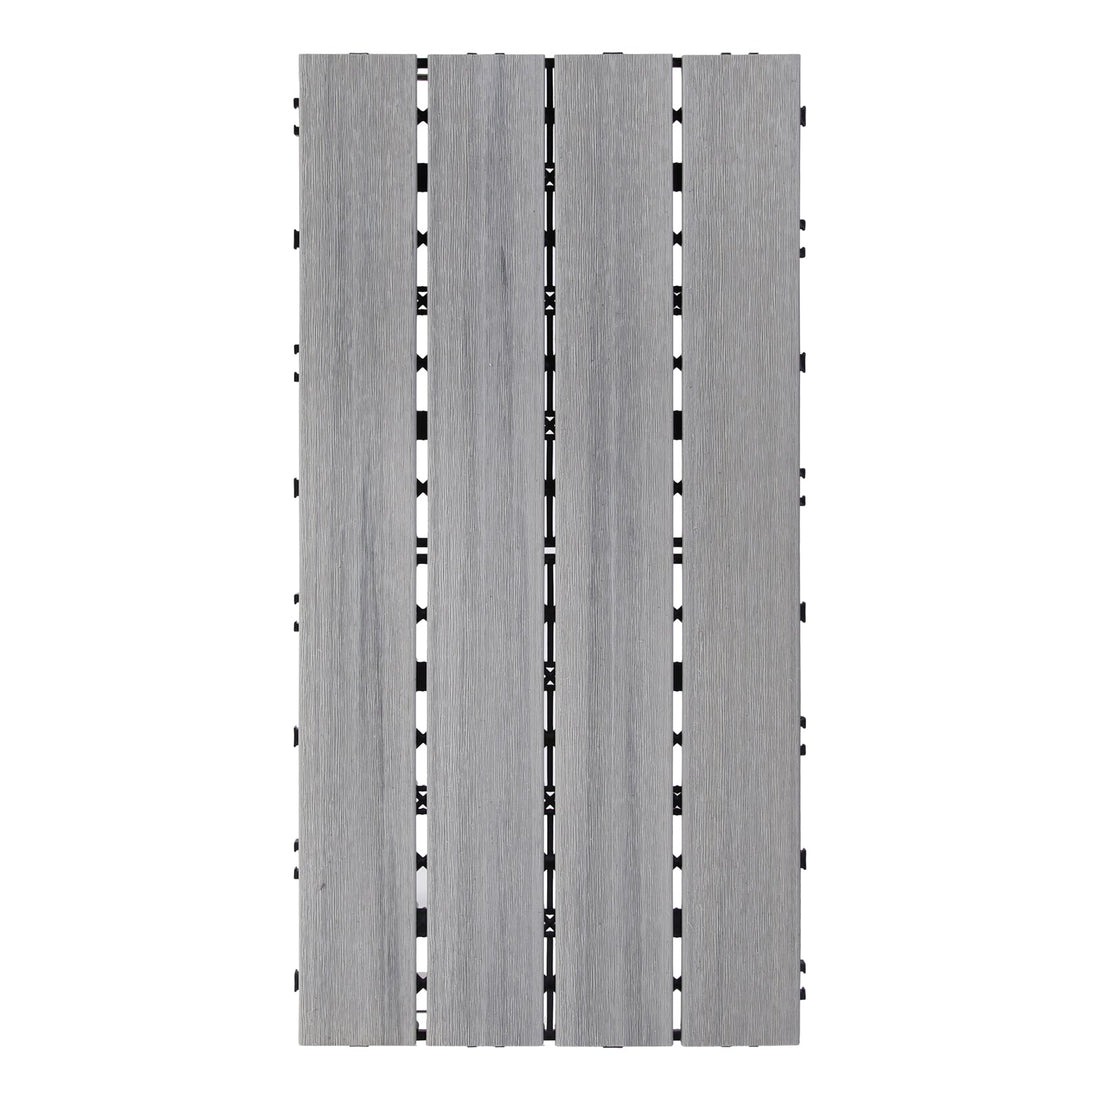
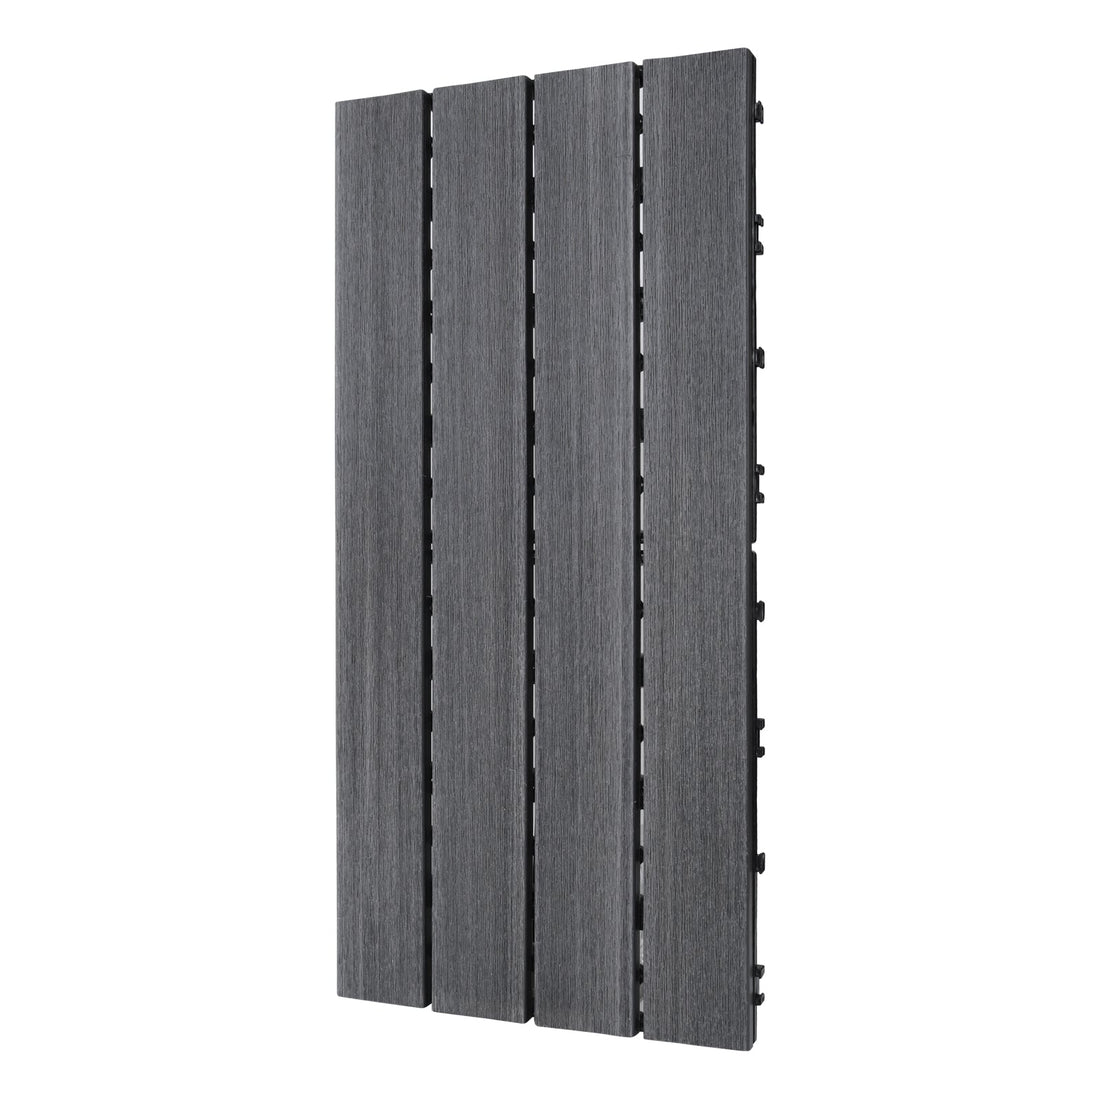
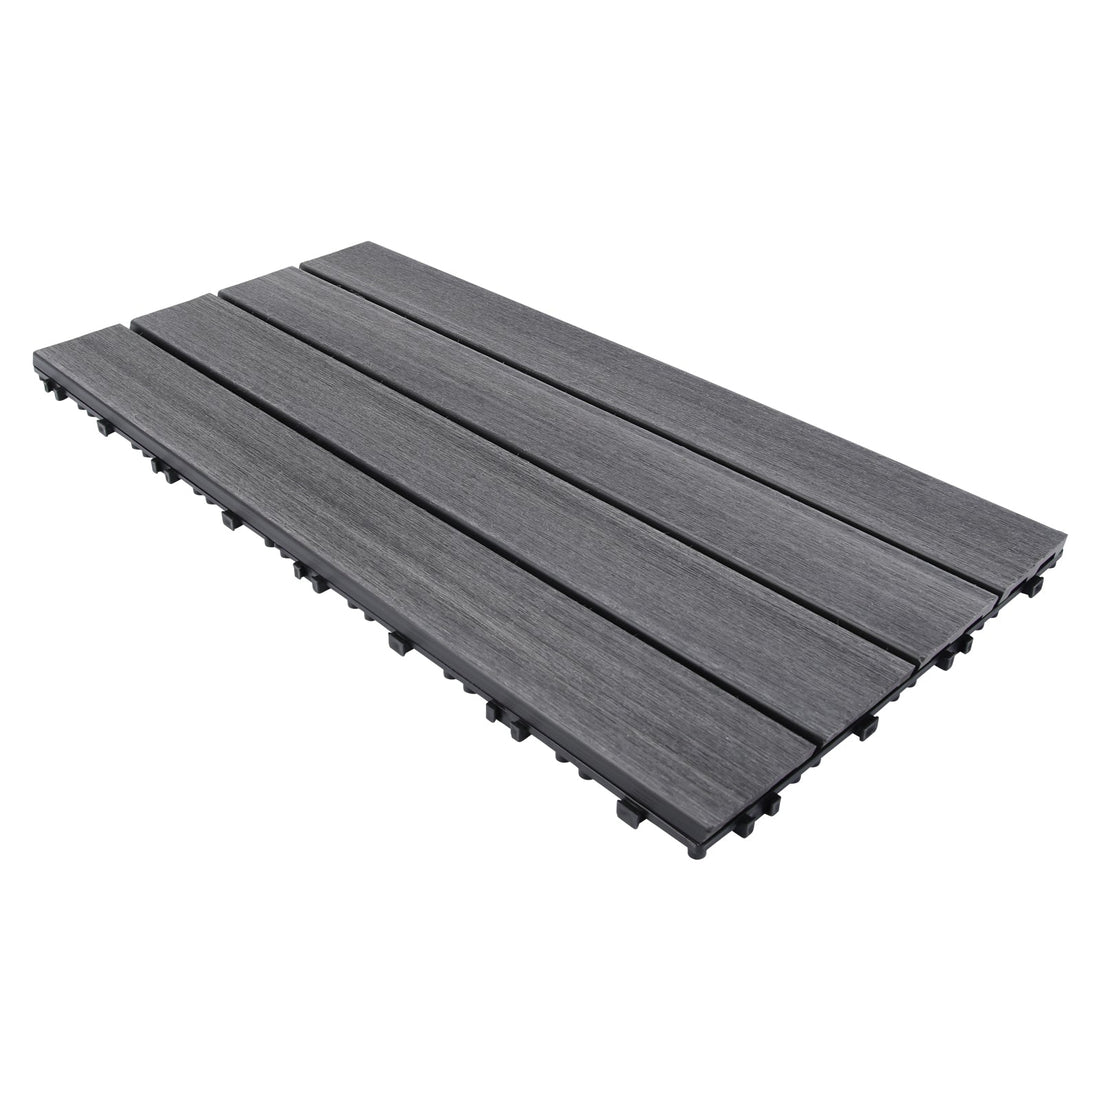
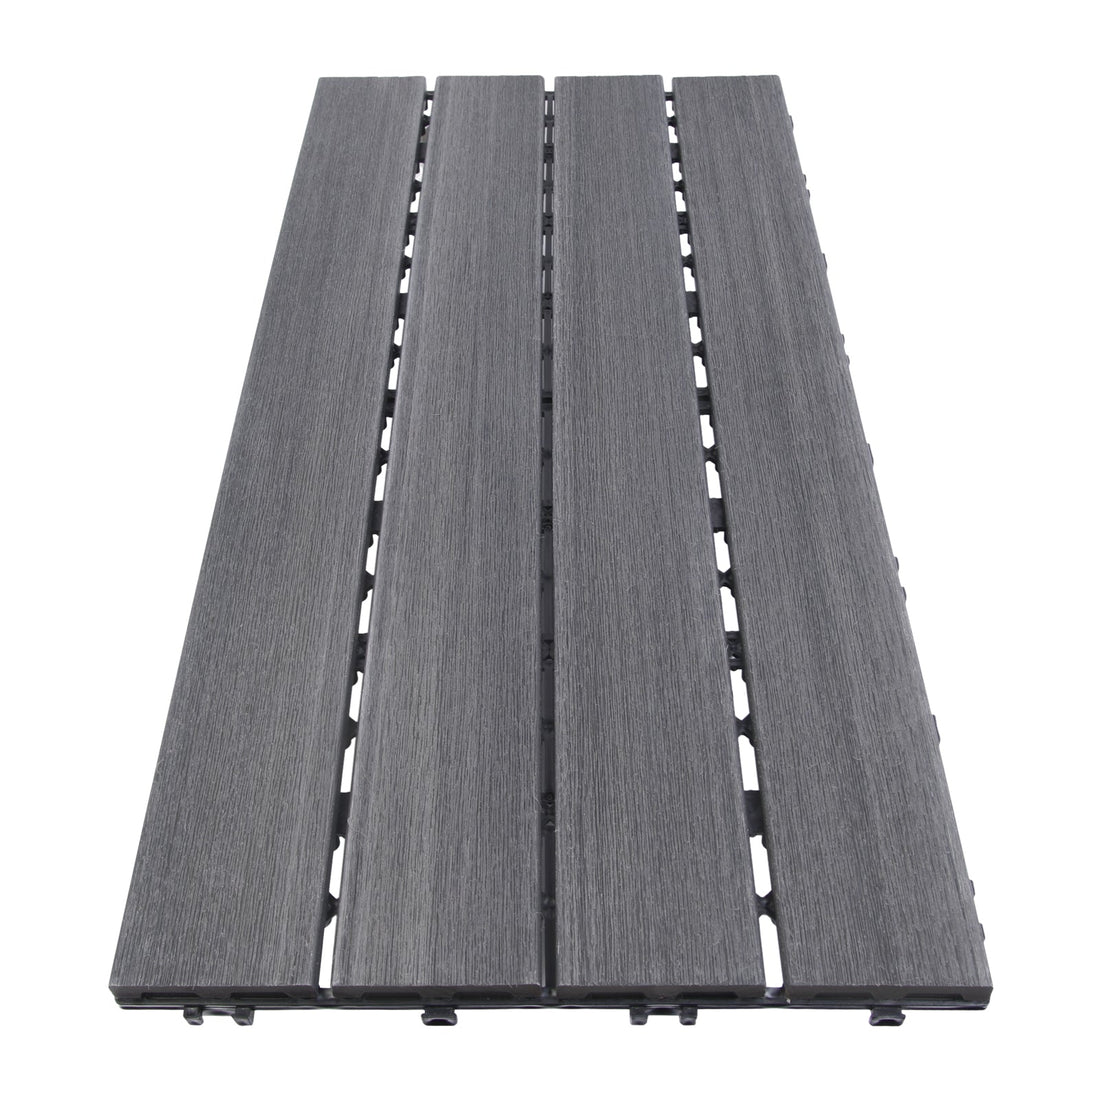
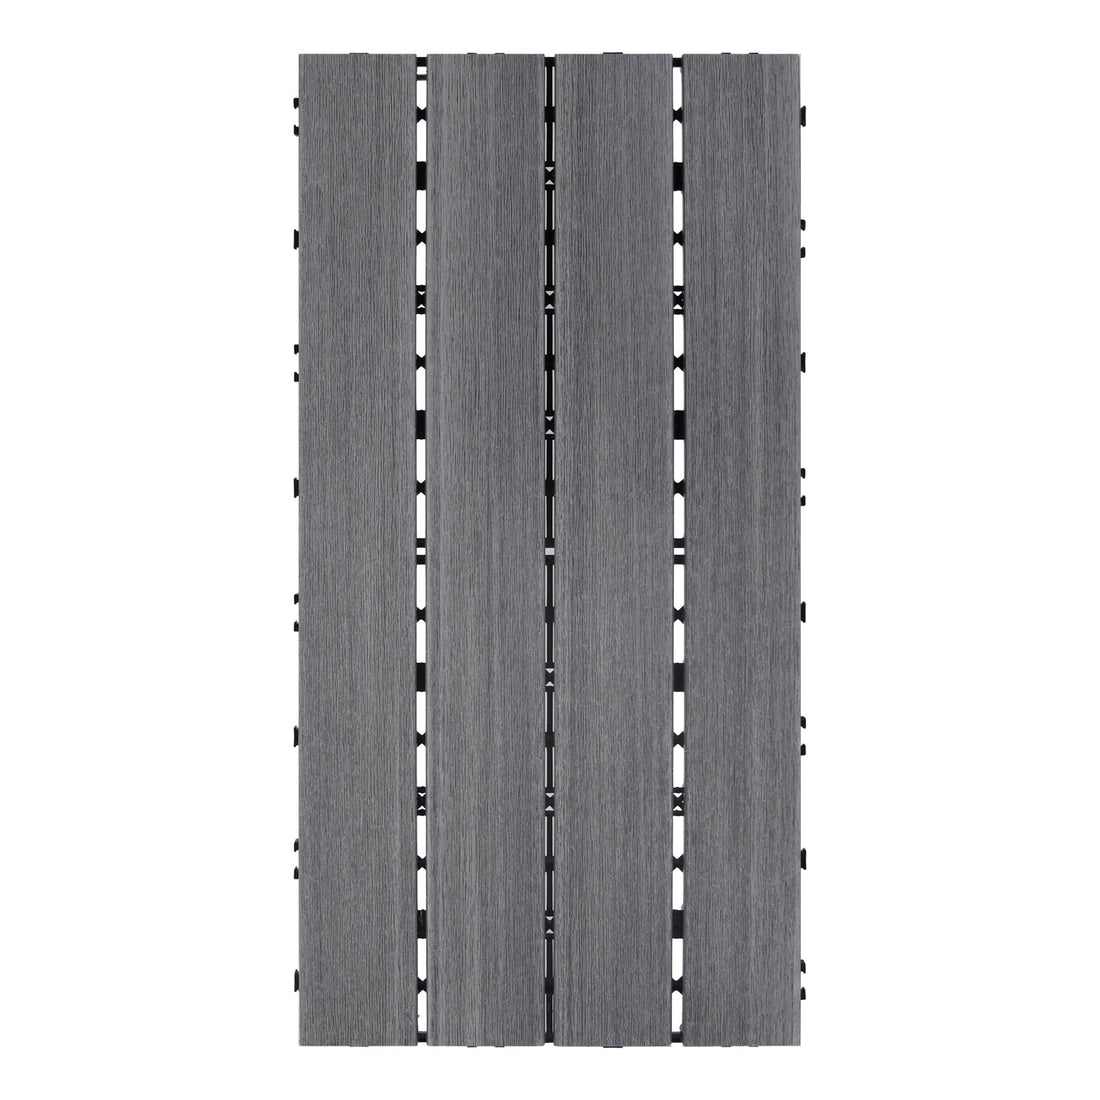
1. Place the first tile in a corner along the edge of the area you will be installing, as shown in Diagram 2
Please Note:
We recommend at least a 12mm gap between walls or any object to allow for expansion and contraction. Failure to do so could result in warping of the tile, buckling, or other damage.

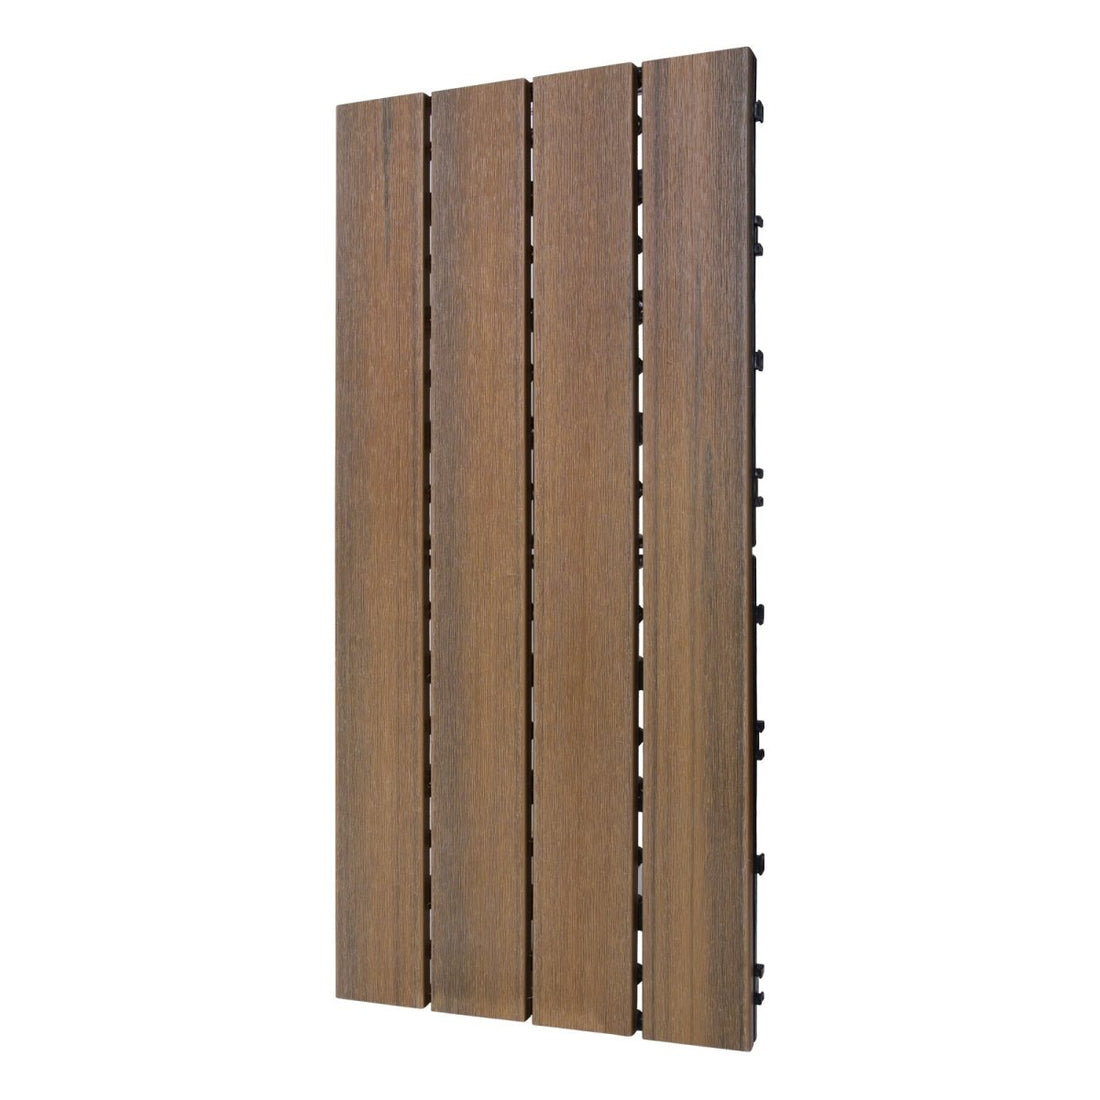
2. When installing the next tile, you can choose to have a vertical or horizontal pattern. You can even mix the two styles for a unique look.
Vertical Shown in Diagram 3 and Horizontal Shown in Diagram 4.

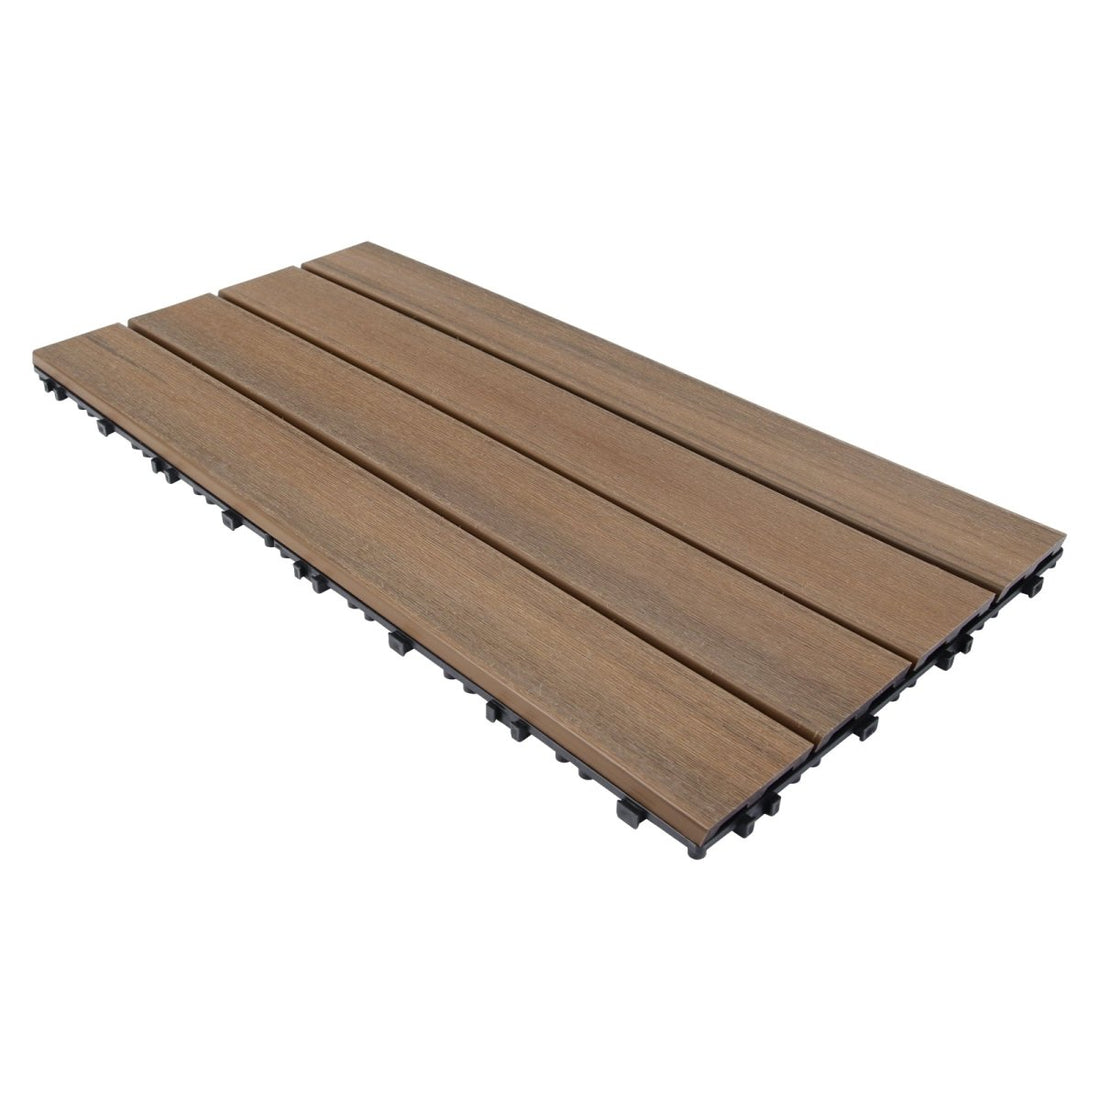
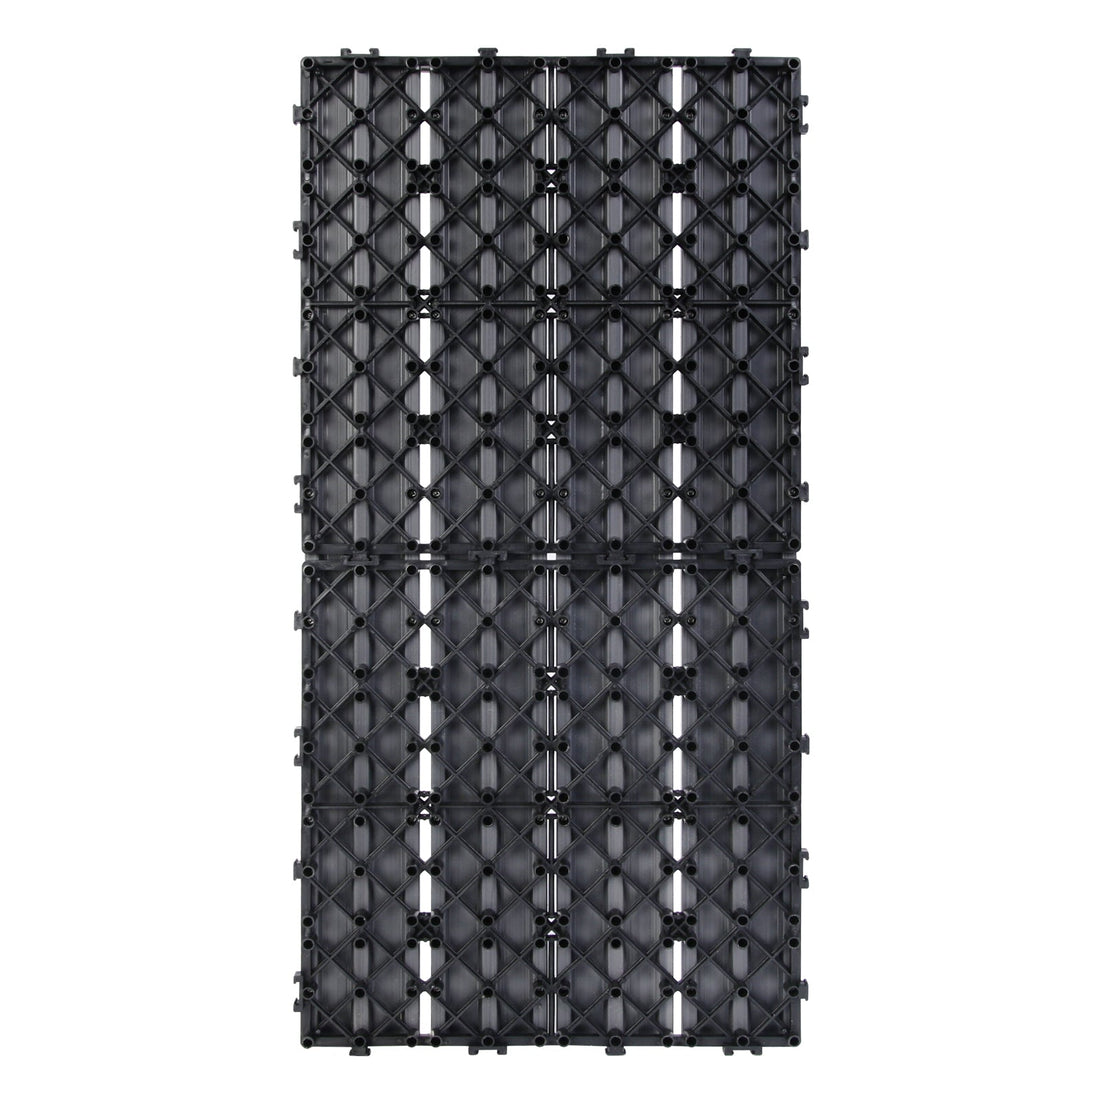
3. After determine the style, take the next tile and align the connectors up with the first tile, shown in Diagram 5.

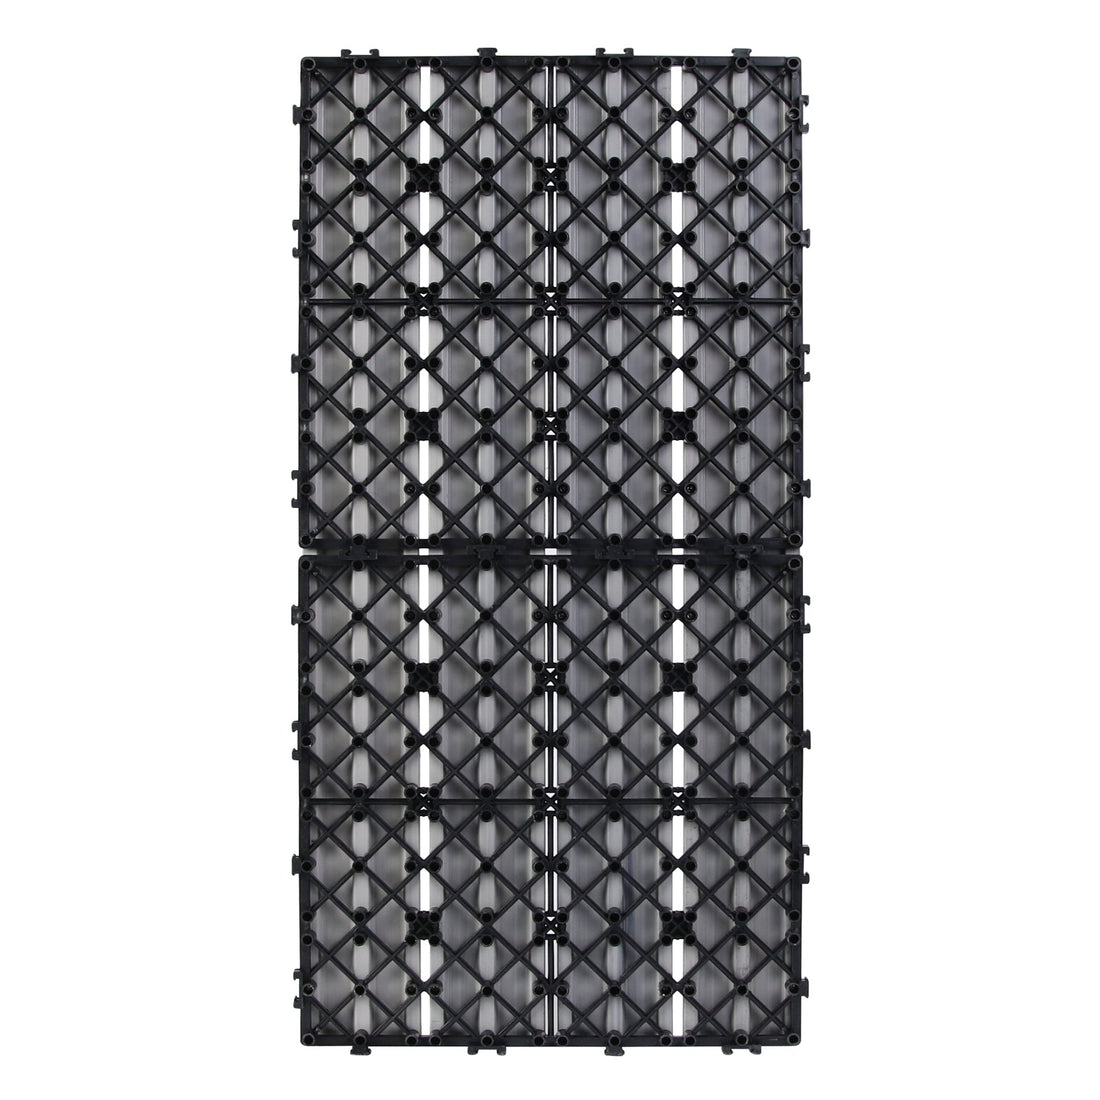
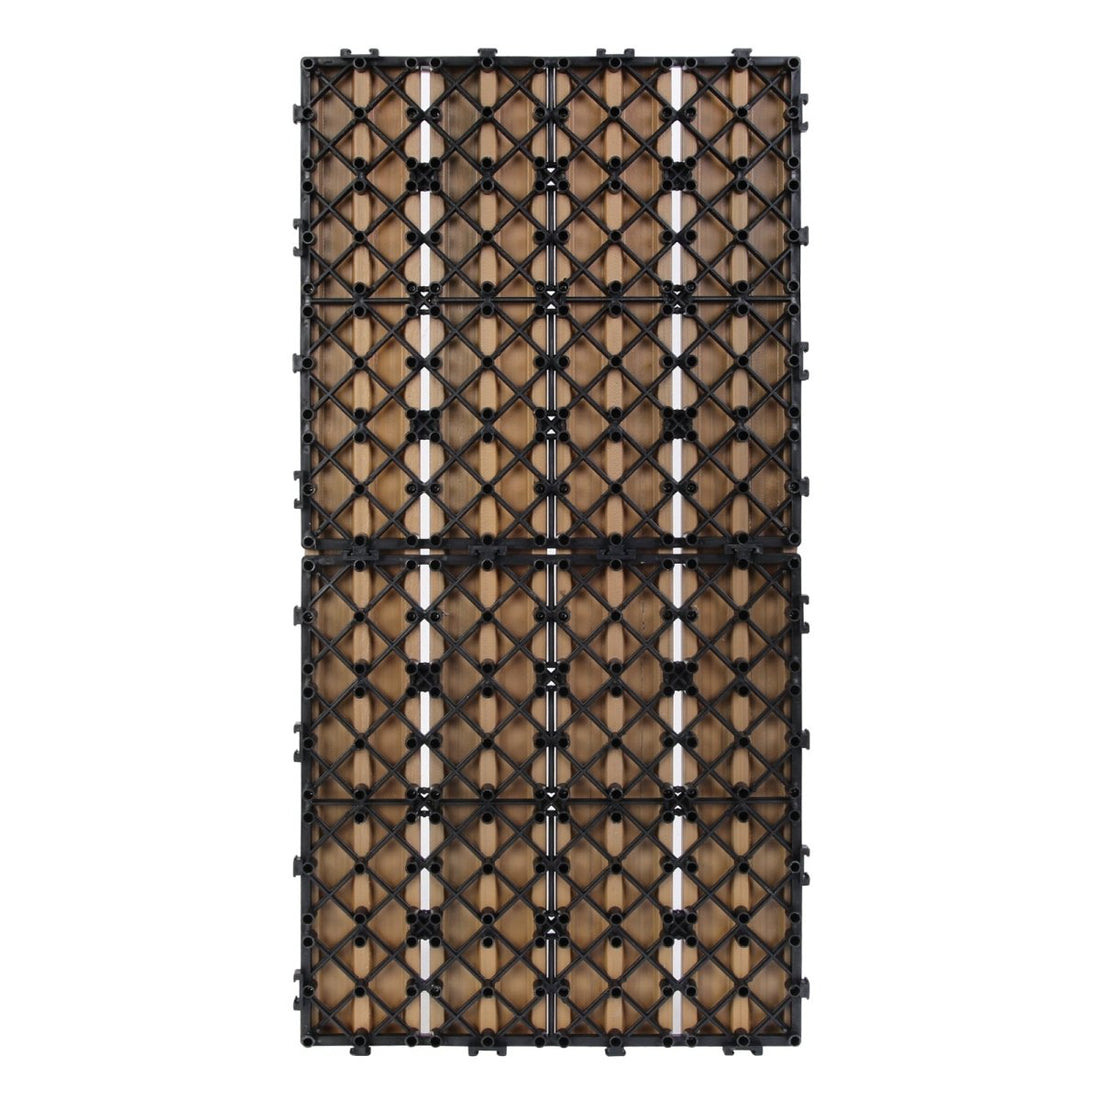
4. Attach the connectors into each other and might lift up on one of the tiles for better grip, shown in Diagram 6.

5. After attach the tiles and push down to lock, as shown in Diagram 7.

1. To remove a tile, grip one tile's edge with one hand and place your other hand on the adjacent tile, shown in Diagram 8.

2. While holding the tile, pull it upwards while simultaneously pushing down on the adjacent tile, shown in Diagram 9.

3. Keep pulling with the gripped hand until the connectors are disengaged from the adjacent tile, shown in Diagram 10.

Cutting the deck tiles is a simple and quick process. However, it's important to remember to use a carbide tip blade when cutting.
1. Before the cutting, measure the corner/edge that will need to be cut, as shown in Diagram 11.
Note:
We recommend at least a 12 mm gap between walls or any object to allow for expansion and contraction. Failure to do so could result in warping of the tile, buckling, or other damage.

2. Redraw the measured area on the tile that you need to be cut. Then, Cut the deck tiles by either Circular saw, table saw or jigsaw. Pleas note to use a carbide tip blade on these tools, as shown in Diagram 12.
3. The final tile will be presented as shown in Diagram 13.

Before you begin cutting, turn the deck tile over and make sure that the cut lines you marked do not cross any screws on the back of the tile. You should never cut through the screws, as this could damage the tile and/or injure you. If your cut lines cross over the screws, unfasten the screws before cutting the tile. Shown in Diagram 14.

4. After the cutting, use fine sand paper to sand down the sides of cuts area, as shown in Diagram 15.

5. Place the finished tiles in its edge or corner, as shown in Diagram 16.

6. Repeat steps 1-5 for any other areas of corner or edge until the deck is completed., as shown in Diagram 17&18.

Note:
We recommend at least a 12 mm gap between walls or any object to allow for expansion and contraction. Failure to do so could result in warping of the tile, buckling, or other damage.